


This post is divided into two sections; Cleaning and Adjusting, and Choosing the Right Chain
Cleaning and Adjusting
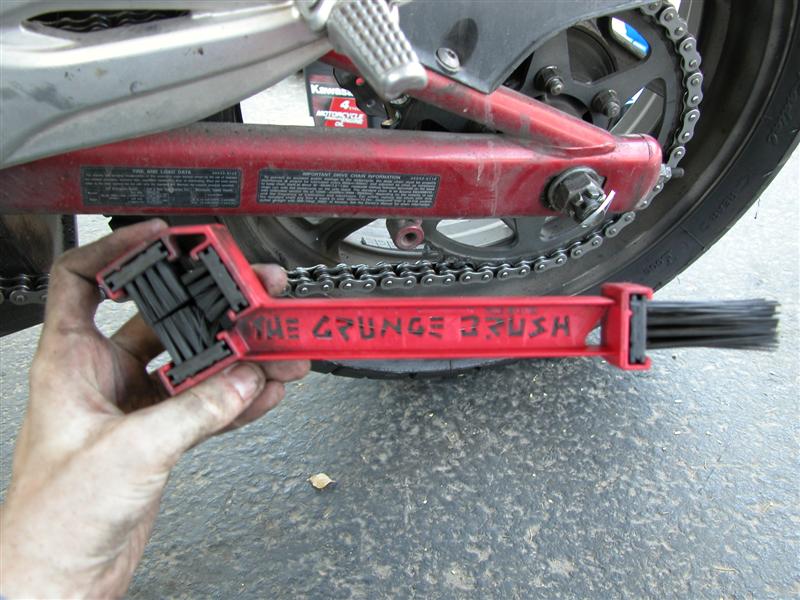
Cleaning a chain is easy, using the a "chain cleaning tool" from eBay or just some toothbrushes and rags it's a 10 minute job that should be performed about once a month or so if you use your bike every day.
I'll number the steps on how I would do it, replicate however you see fit.
1. Get a paddock stand or use centre stand and get the wheel spinning, if you are confident turn the engine on, flick up the sides stand and put it in gear.The wheel will spin, but while it is doing this, do not put your fingers anywhere near the chain and also make sure it is well supported and can't fall.
2. Spray the chain with a degreaser or at least soak a toothbrush in WD40. Hold the brush against the sides of the chain only and give it a good run on each side of the chain. Once this is done stop the wheel, or if the engine wasn't running grab a rag, and gripping the chain sides run it through the rag spinning the wheel with your hand.
3. This will have removed all of the gunk that builds up but some may remain so you might want to repeat this technique once or twice. Then get the wheel spinning again with your chosen chain lube handy (shake well before use).
4. Aim the nozzle at the bottom run of the chain where it meets the sprocket, that way it either hits the chain or the sprocket, which will transfer it to the chain anyway... Why people spray the outside run I don't know as it doesn't make contact with the sprocket and the sprocket forces the lube to the side and nourishes the seals. This was a trick taught to me by a professional mechanic and I've done it ever since with noted less issues with chain wear.
You will now know the proper technique to lubing your chain.
Choosing the Right Chain
Choosing the right chain for you is critical, if you are on a 125 or below then you only need a cheap OEM chain for your bike as the low power of a 125 does not apply much strain on a chain and generally they need adjusting a lot more frequently. For everyone else, see below for O-ring and X-ring chains.

O-Ring Chains
An O-ring chain can be seen on the top right, generally a cheaper chain to purchase for your bike, if it's a 600cc or above then you will likely see a good 10-20,000 miles out of it depending on how well you look after it. These rubber seals keep grease on the inside and dirt out, which is why a clean and well lubed chain is essential, as it keeps the seals in good condition, which in turn keep the wear rate of the chain low. O-rings are the most conventional and cheaper than X-ring although they do produce more friction, which uses slightly more power from your bikes engine.
X-Ring Chains
Basically a more expensive seal due to more complicated construction, but it offers the same sealing qualities with less friction, generally meaning you get the most out of your bikes engine performance wise and the chain lasts longer. When replacing my chain I generally move to an X-ring chain if one is easily available for my bike and not too much more expensive.
Which to Choose?
1. For 125-250cc - Standard non O-ring chain as extra cost doesn't go far enough.
2. 250-600cc - O-ring will do fine but X-ring will get the most out of the chains life, and bikes performance.
3. 600cc+ - Preferably an X-ring chain as the quality is better and can cope which the huge demands put on it by a much bigger engine.
No comments:
Post a Comment